



Edge Banding: Match the Finish, Plan the Detail
The edge turns a selected panel into a finished component. Matching colour, reflection and texture matters, but the detail also needs the right tape width, trimming allowance and a fabrication process suited to the chosen profile.

Start where the face meets the edge
A cabinet door is rarely seen only from the front. As it opens, or as someone walks past it, the perimeter becomes part of the design. An edge that coordinates with the selected face helps the finished component read as a considered whole.
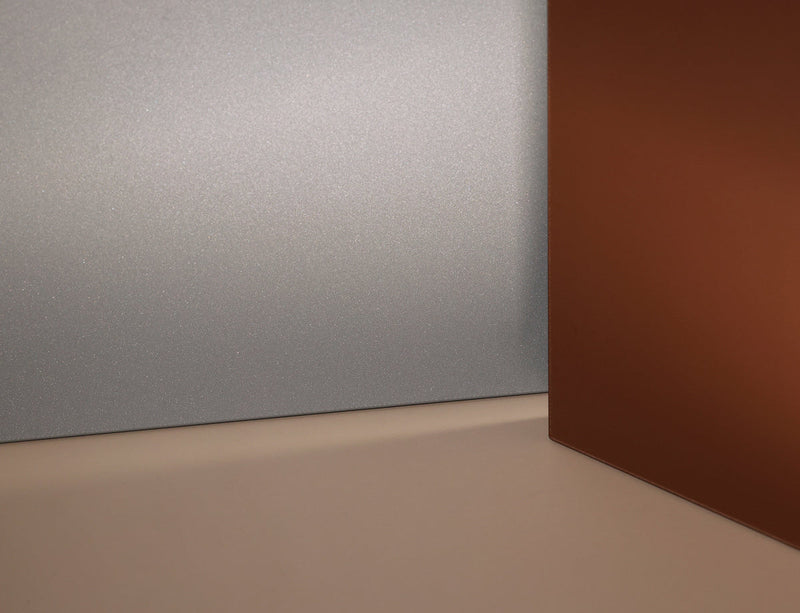
Compare a piece of edging beside the actual panel sample. Look at colour first, then reflection and texture. A close colour can still look different if its sheen changes sharply at the corner. For woodgrain, include the pattern and tactile character in the comparison. Keep the approved face and edge references together.
Choose width for the board and profile
The edging is wider than the board to provide trimming allowance above and below the face. The current Verdécor guidance uses the following combinations. All the supplied edge bands in this guide are 1 mm thick.
| Board or edge detail | Edging width |
|---|---|
| 18 mm board, straight edge | 22 mm |
| 25 mm board, straight edge | 29 mm |
| Bevelled or shark-nose edge | 29 mm |
| Two 18 mm boards, 36 mm combined | 40 mm |
This is a starting guide for the detail, rather than an instruction to use every edge on every shape. Confirm the actual edge item and the fabricator’s finished profile before cutting.
Give the fabricator the complete detail
A straight edge, a bevel and a shaped profile make different demands on machining and finishing. The fabricator needs the board thickness, profile drawing, face configuration and coordinating edge item, together with an appropriate bonding process. A visually matched tape does not establish that an untested bend or groove will work.
Product records identify the supplied material and dimensions. Classic White 3001 NanoGloss, for example, lists ABS edging in 22, 29 and 40 mm widths. Verify the material, width and finish on the current record for the chosen décor.
Approve the detail before production
For a feature door or unfamiliar profile, review the face-and-edge junction on an appropriate sample detail with the fabricator. Check the visible corner, sheen and final shape under the project lighting. Agree the result before repeating it throughout the joinery.
Record the panel, edge décor, width, thickness, quantity and profile in the order information. Browse coordinating edge tapes and consult the technical data for the selected products. Where the detail changes, check the edge and fabrication arrangement again.

Leave a comment
This site is protected by hCaptcha and the hCaptcha Privacy Policy and Terms of Service apply.